
Garden glow has become one of the most sought-after experiences blending natural beauty with artistic illumination. Whether you’re planning to visit a professionally designed botanical garden display or create your own backyard lighting masterpiece, understanding both approaches helps you make the best choice for your needs and budget.
The term “garden glow” encompasses two distinct experiences. First, there are the large-scale illuminated events at botanical gardens featuring millions of LED lights, synchronized music, and themed installations. Second, there’s the DIY approach where homeowners transform their own outdoor spaces using landscape lighting techniques.
What Makes Garden Glow Events Special
Garden glow events at botanical gardens have exploded in popularity over the past decade. These professionally designed displays typically run from November through January, capitalizing on the holiday season and longer evening hours.
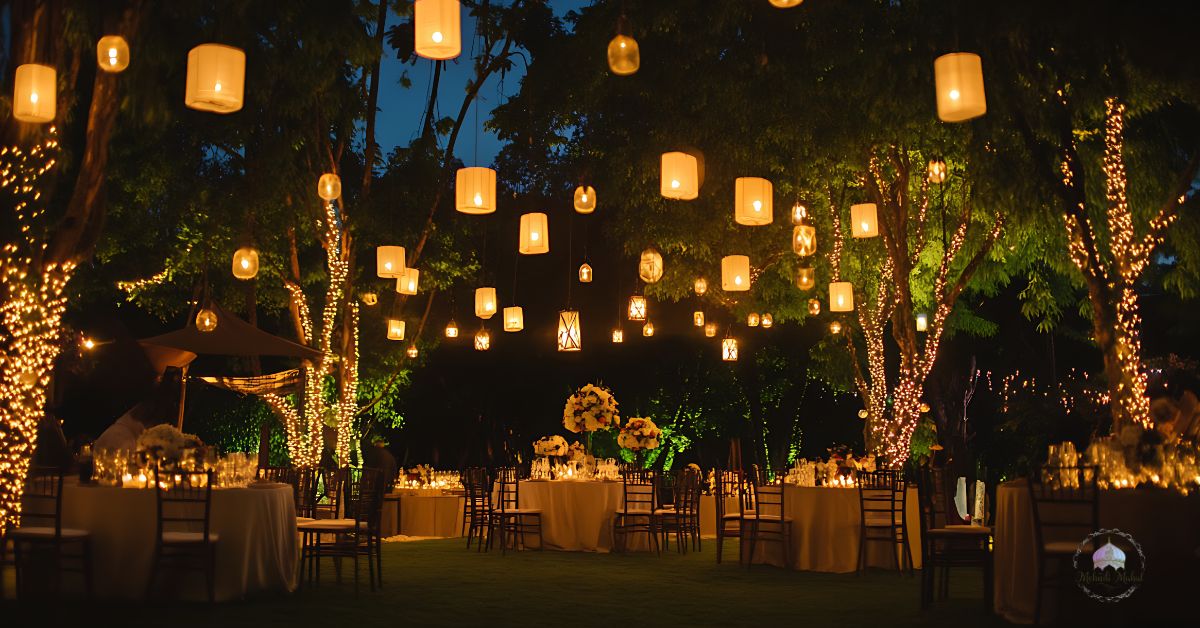
The Missouri Botanical Garden’s Garden Glow in St. Louis stands as one of the most recognized examples, attracting over 200,000 visitors annually with more than 2 million lights illuminating the historic grounds. Similar events at Longwood Gardens in Pennsylvania, Atlanta Botanical Garden in Georgia, and Chicago Botanic Garden draw massive crowds seeking Instagram-worthy experiences.
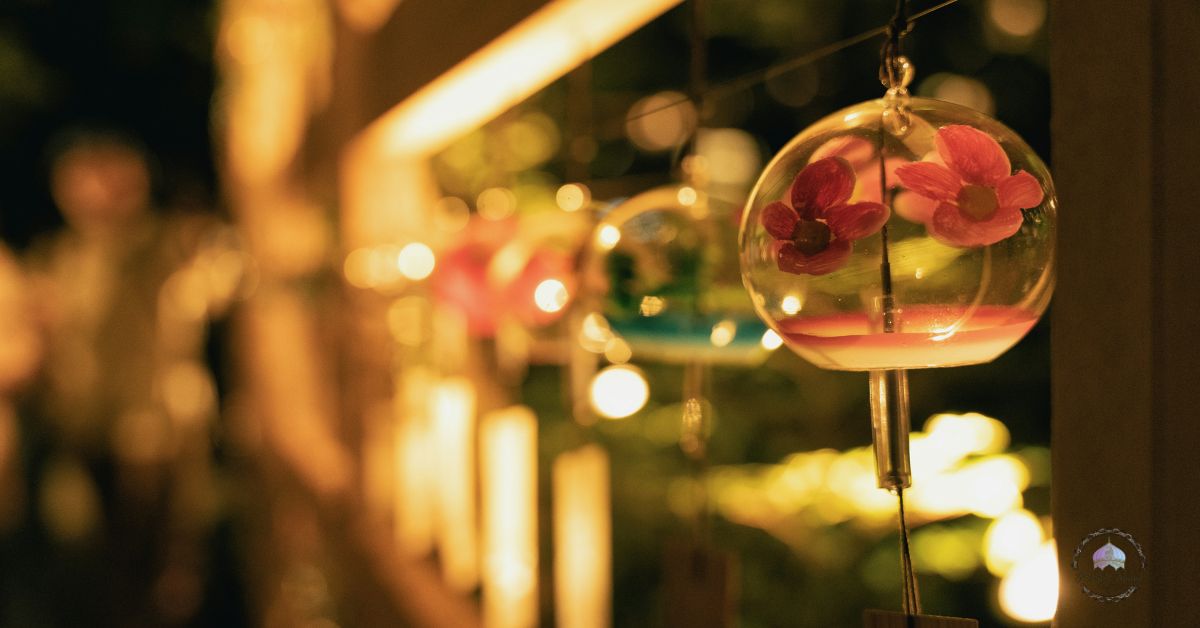
What distinguishes these events from simple holiday light displays is the integration with living plant collections. Lighting designers use the natural architecture of trees, the curves of garden beds, and water features to create immersive environments that celebrate both horticulture and artistry.
Visitors typically spend 90 minutes to two hours walking predetermined paths, encountering different themed zones. Some venues incorporate interactive elements like musical light shows, projection mapping on conservatory buildings, or artisan light sculptures that visitors can walk through.
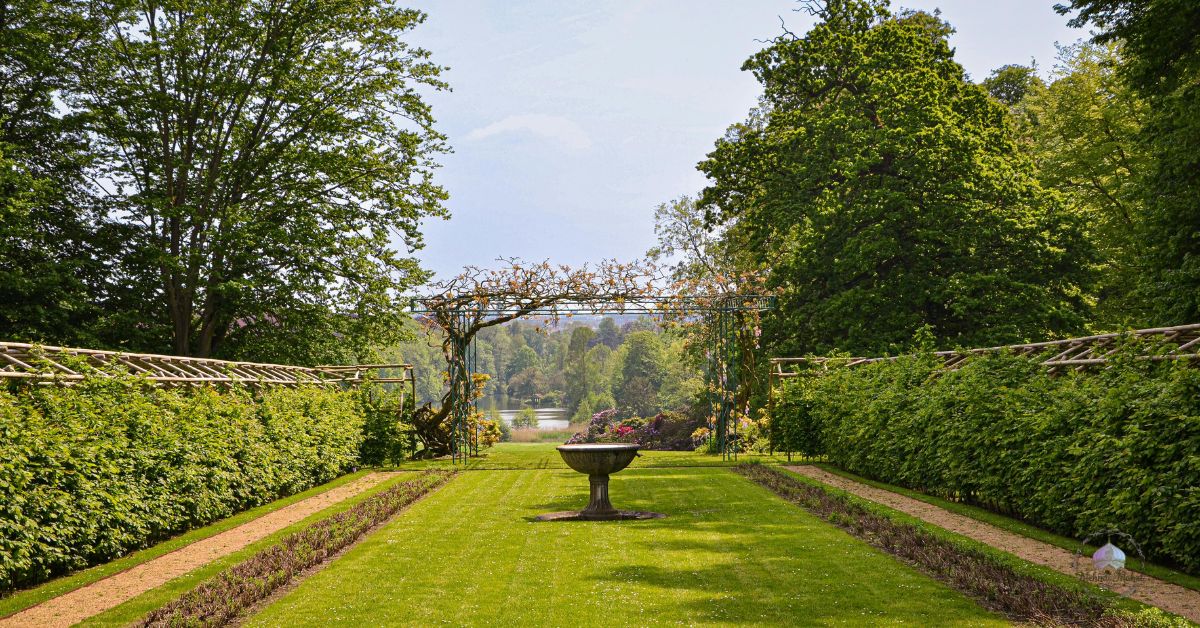
regal garden
Planning Your Garden Glow Event Visit
Timing matters significantly when attending these events. Weeknights, particularly Tuesday through Thursday, offer the least crowded experience. Weekend evenings and any night close to major holidays see peak attendance with potential wait times for entry.
Ticket prices vary by venue and date. Most botanical gardens charge between $20 and $45 per person, with weeknight admission typically costing $20-$30 and premium weekend or holiday dates running $30-$45. Children often receive discounted rates, and those under three to five years usually enter free.
If you live near a botanical garden hosting annual light displays, membership becomes valuable. Annual memberships ranging from $75 to $150 typically include discounted or complimentary admission to light events, making them worthwhile after just two to three visits.
Most venues offer timed entry tickets purchased in advance. This system guarantees entry at a specific window and significantly reduces wait times. Last-minute ticket purchases at the gate often mean sold-out dates or long queues.
Accessibility varies by venue but major botanical gardens generally provide wheelchair and stroller-accessible routes. However, surface types differ—paved paths offer easiest navigation while gravel or mulch trails can be challenging. Contacting venues beforehand to discuss specific accessibility needs ensures a smooth visit.
regal garden
Creating Your Own Garden Glow at Home
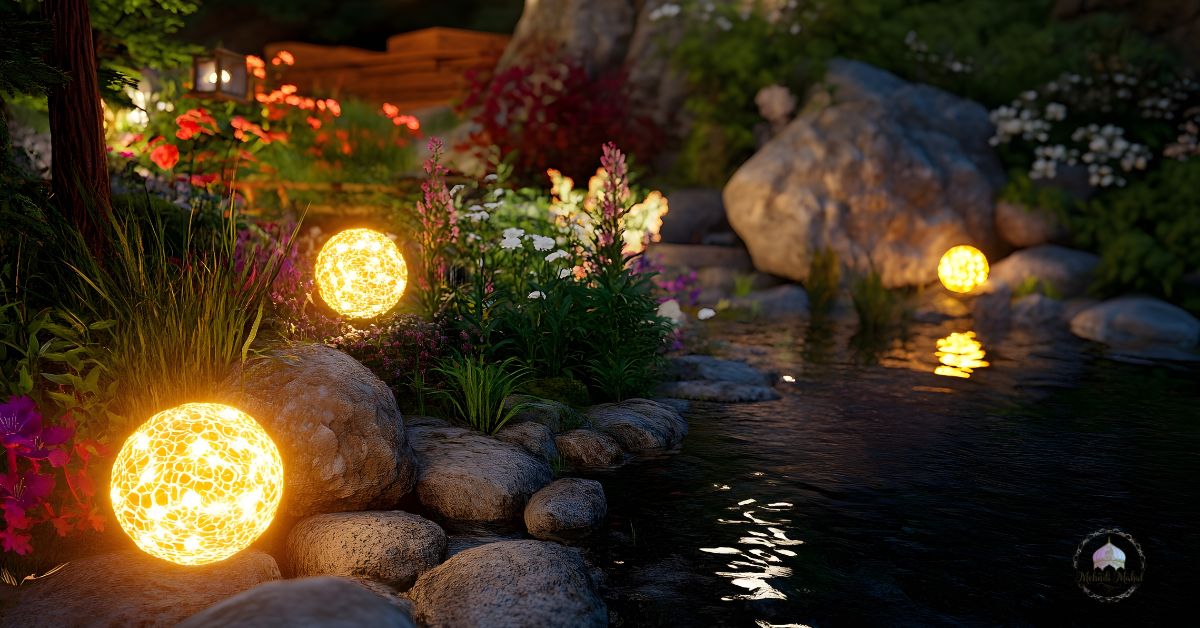
The DIY approach to garden glow offers unlimited access and customization possibilities. While professional events provide spectacular one-time experiences, home installations deliver ongoing value and can be tailored to your exact aesthetic preferences.
Starting a DIY garden glow project begins with site assessment. Walk your property at dusk to identify focal points, dark zones needing illumination, and existing power source locations. This reconnaissance reveals opportunities you might miss during daylight—a tree with interesting branch structure, a pathway that disappears into darkness, or an architectural feature that could benefit from uplighting.
Consider what you want to achieve. Some homeowners focus purely on aesthetics, creating atmospheric evening environments. Others prioritize functional pathway lighting for safety. Many combine both approaches, using the three-layer lighting principle that professional designers employ.
The three-layer approach divides lighting into ambient (overall illumination setting mood), task (functional lighting for safety and navigation), and accent (highlighting specific features). This framework prevents the common mistake of over-lighting, which creates visual chaos rather than interest.
Understanding Your Equipment Options
LED technology has revolutionized garden lighting over the past decade. Modern LEDs consume 75-80% less energy than older incandescent options while lasting 25,000 to 50,000 hours—equivalent to 10 to 20 years with average nightly use.
Low-voltage landscape lighting systems operate at 12 or 24 volts rather than standard 120-volt household current. This makes them safer for DIY installation and reduces electrical code requirements in many jurisdictions. A transformer converts standard outlet power to low voltage, with systems available as complete kits or custom-designed configurations.
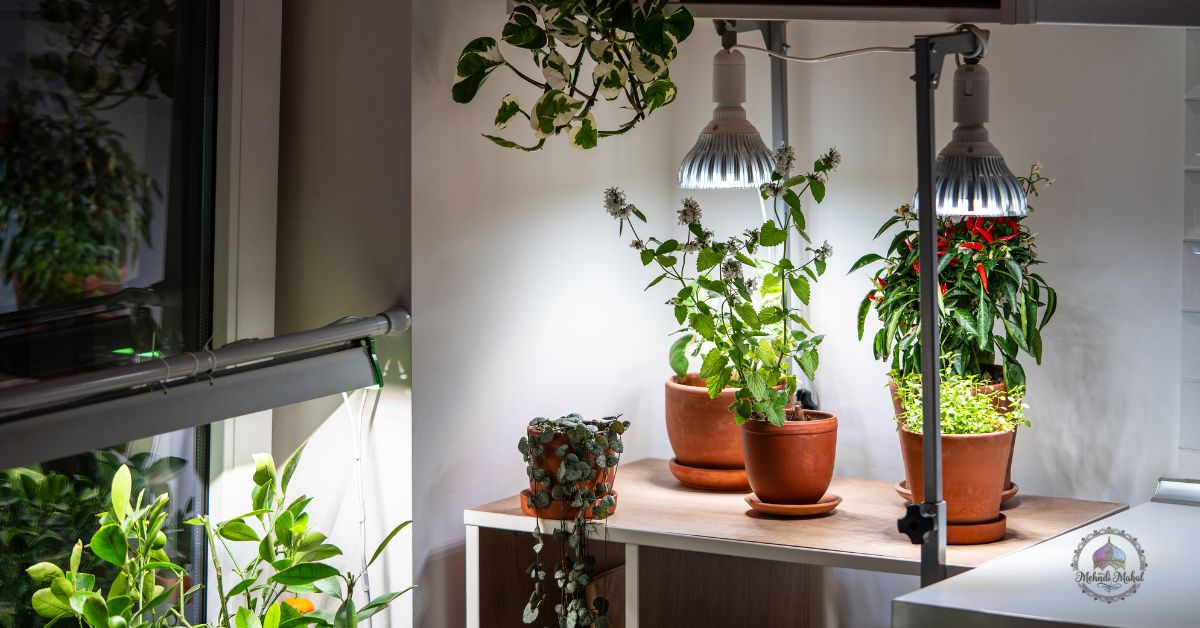
Solar-powered lights offer the easiest installation since they require no wiring. However, they deliver lower brightness, need direct sunlight for charging, and require battery replacements every two to three years. They work well for supplemental pathway lighting or garden bed accents but can’t match wired systems for impact.
Smart lighting systems integrate with home automation platforms, allowing voice control, scheduling, and color changes via smartphone apps. Popular platforms include Philips Hue, LIFX, Govee, and Wyze. While more expensive initially, smart systems offer convenience and flexibility that simple timer-based systems can’t match.

Installation Basics for DIY Success
A basic seasonal display using string lights and solar stakes typically costs $100 to $300. This budget covers three to four strands of quality LED string lights, 15 to 20 solar pathway stakes, extension cords, timers, and mounting hardware. This level provides basic illumination for small yards with one or two featured trees.
Mid-range permanent installations ranging from $500 to $1,500 deliver more comprehensive coverage and durability. This typically includes a low-voltage transformer and cable, 12 to 15 quality landscape fixtures, professional-grade string lights, smart controllers or timers, and all installation supplies. Coverage extends to medium-sized properties with multiple zones and several key features.
Premium professional-grade systems costing $2,500 to $7,500 or more incorporate complete low-voltage infrastructure, smart RGB lighting elements, specialty fixtures like tree wraps or canopy systems, and often professional design consultation. These systems suit larger properties requiring comprehensive lighting design with advanced automation features.
For string light installations—the most popular DIY choice—proper tensioning prevents sagging that looks unprofessional. Install guide wires between mounting points first, tension them adequately, then drape string lights following the wire pattern. Secure lights at intervals with plastic clips designed for outdoor use.
Uplighting trees creates dramatic effects with minimal equipment. Position spotlights 12 to 24 inches from trunk bases, angled upward at 30 to 45 degrees. For small trees, 3 to 5-watt LED fixtures suffice, while large specimens benefit from 10 to 20-watt spotlights. Experiment with positioning during installation since a few inches can dramatically change the effect.
Pathway lighting requires strategic spacing rather than uniform placement. Fixtures positioned every 8 to 10 feet along paths, alternating sides, create natural rhythm. Position lights slightly off the path edge, aimed downward at walking surfaces rather than outward where they create glare.
Critical Safety Considerations
Electrical safety cannot be compromised in outdoor lighting installations. All outdoor outlets must have GFCI (Ground Fault Circuit Interrupter) protection, which instantly shuts off power when detecting current leakage. This protection prevents serious electrical shock and is required by electrical code.
Calculate circuit loads before connecting lights. Standard household circuits handle 15 amps maximum, but best practice limits continuous loads to 80% of capacity—meaning 12 amps maximum. LED lights draw minimal current, but when combining multiple strands or transformers, calculations matter.
Weather ratings indicated by IP (Ingress Protection) codes specify dust and moisture resistance. The first digit indicates solid particle protection (0-6), the second indicates liquid protection (0-8). Covered porch areas need minimum IP44 rating (splash protection). Open gardens require IP65 or higher (full weather exposure). Ground-level installations near water need IP67 or IP68 (immersion protection).
Never use indoor extension cords outdoors—they lack weather sealing and UV resistance, leading to dangerous failures. Outdoor-rated cords feature heavier insulation and weather-resistant connectors. Avoid daisy-chaining multiple extension cords, which increases resistance and fire risk.
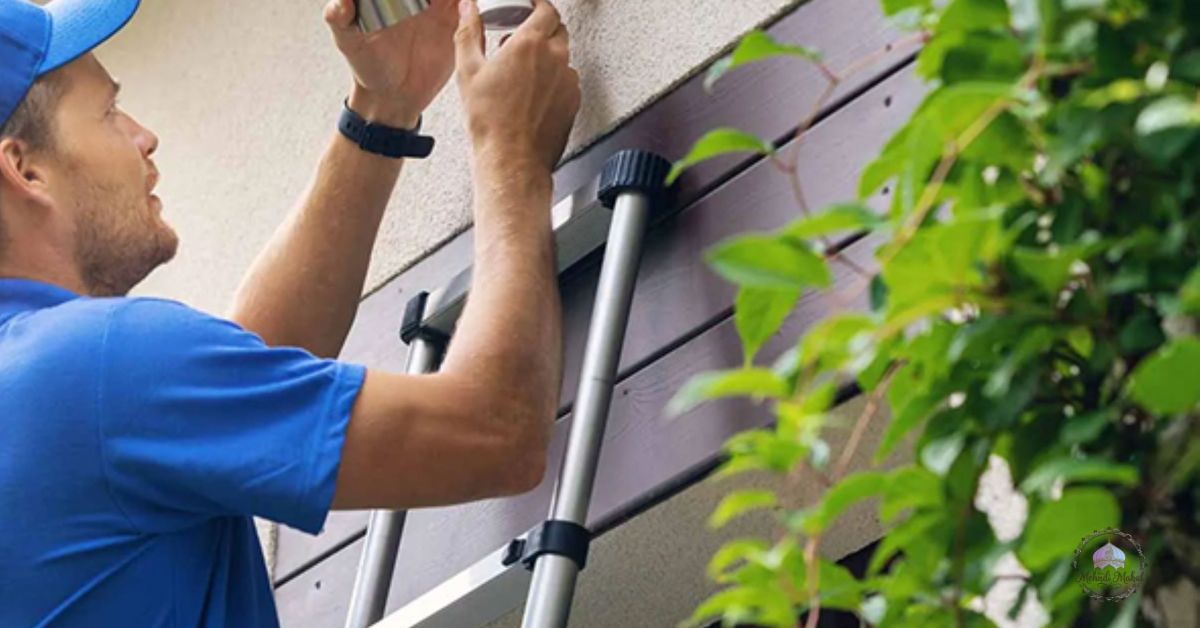
When working at heights to install lights in trees or on structures, use stable ladders with spotters present. Work during daylight hours for clear visibility and avoid overreaching, which causes most ladder accidents.
Underground cable burial protects wiring from damage and looks professional. Call 811 before any digging to have utilities marked—this free service prevents dangerous and expensive utility strikes. Hand-dig within 18 to 24 inches of marked utility lines. Bury low-voltage cable 6 to 18 inches deep depending on local code and traffic exposure.
Design Principles That Create Impact
Color temperature dramatically affects mood and plant presentation. Warm white (2700-3000K) produces yellowish, cozy illumination resembling traditional incandescent bulbs. This works well for entertaining spaces and traditional landscapes while enhancing red, orange, and autumn colors in plants.
Cool white (5000-6500K) offers bluish, crisp light similar to daylight. It suits modern landscapes and highlights silvery or blue-toned foliage but can feel harsh in intimate settings. Many homeowners find neutral white (3000-3500K) provides the most versatile option, warm enough for atmosphere yet bright enough for clarity.
Avoid the temptation to light everything uniformly. Strategic darkness provides contrast that makes illuminated features more dramatic. Choose three to five primary focal points—maybe a specimen tree, an architectural element, and a seating area—then support these with secondary lighting while leaving some areas in soft shadow.
Shadow play adds dimension that flat lighting cannot achieve. Backlighting plants against walls creates silhouette effects. Trees positioned to cast shadows on vertical surfaces provide movement as breezes shift branches. Position lights to create interesting shadows rather than eliminating them.
The moonlighting technique positions lights high in trees to create natural-looking downward illumination mimicking moonlight filtering through branches. This requires climbing or professional installation but delivers the most organic nighttime effect, avoiding the artificial appearance of ground-based uplighting.
Comparing Costs: Events vs DIY
A family of four attending a garden glow event typically spends $120 to $260 per visit including tickets ($80-$180), parking ($10-$20), and concessions ($30-$60). Visiting twice during the season doubles this cost.
Over five years, a family making annual visits spends $600 to $1,300 on this entertainment. A DIY installation costing $500 to $1,500 breaks even quickly while providing unlimited access. The enjoyment difference lies in experience type—curated professional displays versus personalized home environments accessible nightly.
DIY installations also potentially increase property value. Real estate studies indicate professional landscape lighting adds 2 to 5 percent to home values in mid to high-end markets, particularly when installations enhance architecture and landscaping rather than overwhelming them.
Energy costs for LED landscape lighting remain minimal. A typical residential system using 300 watts operating five hours nightly costs approximately $5 to $8 monthly depending on local electricity rates. Timer controls reducing unnecessary operation further minimize costs.

Common Mistakes to Avoid
Over-lighting ranks as the most frequent error. More lights don’t automatically create better results—they often produce washed-out appearances lacking depth. Professional designers work with light and shadow equally, creating drama through contrast.
Improper fixture placement undermines effectiveness. Pathway lights positioned too close together create glare rather than guidance. Uplights placed too far from trees waste light and fail to illuminate canopies effectively. String lights sagging between supports look unprofessional and amateurish.
Ignoring viewing angles during installation leads to disappointment. Lights that look good when standing directly beneath them may create glare or poor effects from actual viewing locations like windows or seating areas. Test positioning at night from all relevant perspectives before finalizing placement.
Poor cable management creates visual clutter and trip hazards. Plan cable routes during design, use cable clips or conduit where appropriate, and bury low-voltage cables per code requirements. Label connections for future reference and troubleshooting.
Mixing incompatible color temperatures within viewing zones creates disjointed appearances. Warm white and cool white lights positioned near each other clash visually. Standardize on one color temperature per area, though different zones can use different temperatures if separated adequately.

Maintenance and Seasonal Adjustments
Annual maintenance keeps systems performing optimally. Spring cleaning removes accumulated debris from fixtures, checks all connections for corrosion, and adjusts positioning for plant growth that may have shifted sight lines. This is also the time to test the entire system after winter dormancy.
Summer monitoring ensures timer settings adjust for changing daylight hours. Trim vegetation that has grown to block or interfere with light patterns. Check that solar fixtures still receive adequate sunlight as surrounding plants mature.
Fall preparation before winter involves comprehensive testing, replacing any failed bulbs or damaged components, and adding seasonal elements if desired. Clean fixtures thoroughly and verify all weatherproofing remains intact before harsh weather arrives.
Winter requires periodic checks for snow accumulation on fixtures, verification that freezing hasn’t damaged connections, and confirmation that timers operate correctly. Heavy snow should be gently cleared from light fixtures to prevent damage.
Most quality LED landscape lights include warranties ranging from one to five years, with premium brands offering lifetime warranties on fixtures though not on LED components. Document all purchases and installation dates to facilitate warranty claims if needed.
Regional and Climate Considerations
Installation timing varies by climate zone. Northern climates with frozen ground should schedule installations in spring (April-May) or fall (September-October). Southern regions enjoy broader installation windows but should avoid extreme summer heat that makes outdoor work uncomfortable.
Coastal environments require higher IP ratings and corrosion-resistant materials like stainless steel or marine-grade powder coating. Salt air degrades standard aluminum and brass fixtures faster than inland locations experience.
Desert regions benefit from IP67 or IP68 ratings protecting against dust infiltration alongside moisture. Extreme temperature ranges in deserts—cold nights and scorching days—stress electrical components more than moderate climates.
Professional installation becomes more valuable in regions with complex electrical codes or difficult installation conditions like rocky soil, extensive existing irrigation systems, or heavily planted mature landscapes where cable routing proves challenging.
Frequently Asked Questions
How long do garden glow events typically run each season?
Most garden glow events at botanical gardens operate from late November through early January, spanning approximately six to eight weeks. Some venues in southern climates extend into February. Events typically open at dusk (5:00-6:00 PM depending on season) and close four to five hours later. Fall-themed events sometimes run October through early November before transitioning to holiday displays.
Can I install landscape lighting myself or do I need an electrician?
Low-voltage landscape lighting systems (12V or 24V) are DIY-friendly and don’t require electricians in most jurisdictions. These systems use transformers that plug into standard GFCI-protected outlets, avoiding complex electrical code requirements. However, if you need new outdoor circuits installed, want line-voltage (120V) systems, or feel uncomfortable with electrical work, hiring licensed electricians ensures safety and code compliance.
What’s the difference between warm white and cool white outdoor lights?
Warm white (2700-3000K) produces yellowish light resembling traditional incandescent bulbs, creating cozy, intimate atmospheres and enhancing earth-tone colors in plants and hardscaping. Cool white (5000-6500K) offers bluish, crisp illumination similar to daylight, suited for modern landscapes and highlighting silvery or blue-toned foliage. Most residential applications favor warm white for its natural, welcoming appearance.
How many lights do I need for my garden?
For basic coverage, plan 100 to 200 lights per medium tree, 300 to 500 for large trees when wrapping with string lights. String light canopies require approximately 100 lights per 10 linear feet. Pathway lighting needs one fixture every 8 to 10 feet. A typical front yard (30×40 feet) requires 500 to 1,000 lights for basic coverage, 2,000 to 3,000 for comprehensive illumination.
Are solar lights as good as wired landscape lights?
Solar lights offer easier installation and zero energy costs but deliver lower brightness and shorter lifespans than wired systems. Solar fixtures work well for supplemental pathway lighting or garden bed accents but can’t match wired LED systems for impact on focal features. Solar batteries require replacement every two to three years, while quality wired LED fixtures last 10 to 20 years. Choose solar for convenience and supplemental use, wired systems for primary lighting.
Do I need permits for landscape lighting installation?
Low-voltage landscape lighting (12V/24V) typically doesn’t require permits in most jurisdictions since transformers simply plug into existing outlets. However, line-voltage (120V) installations, new circuit additions, or significant electrical work may require permits and inspections. Requirements vary by municipality, so check with local building departments before starting projects involving electrical modifications.
How much does professional landscape lighting installation cost?
Professional installation typically costs $2,000 to $8,000 for comprehensive residential systems, with $3,000 to $5,000 representing average spending. This includes design consultation, all equipment and materials, installation labor, and warranties. Costs vary based on property size, fixture quantity and quality, complexity of installation, and regional labor rates. Some homeowners opt for professional design ($250-$750) then DIY installation to reduce costs while ensuring good design.
link:Winter Nights at Longwood When darkness falls, magic rises.
link:How to Crochet Flowers:Complete Guide with 20+ Free Patterns
Making Your Garden Glow Decision
Whether you choose to attend professionally designed garden glow events or create your own illuminated outdoor space depends on your priorities, budget, and property situation. Event attendance provides spectacular curated experiences without installation effort, perfect for those wanting seasonal outings or lacking suitable outdoor space for DIY projects.
DIY installations deliver unlimited access, complete customization, and potential property value increases, ideal for homeowners wanting to extend outdoor living seasons and create personalized environments. Many enthusiasts pursue both approaches—attending events for inspiration while developing their home displays.
Start with clear goals. Define what you want to achieve, assess your budget realistically, and consider your skill level honestly. Simple projects like string light canopies or solar pathway lighting offer accessible entry points, while comprehensive landscape lighting systems may warrant professional consultation.
Safety remains paramount regardless of approach. Never compromise on electrical protection, weather ratings, or code compliance. When uncertain, consult professionals—the cost of expert advice vastly outweighs risks of improper installation.
The garden glow phenomenon reflects our desire to extend enjoyment of outdoor spaces beyond daylight hours, creating magical environments that transform ordinary landscapes into extraordinary experiences. Whether witnessed at grand botanical gardens or created in backyard spaces, the interplay of light and nature offers rewards that justify the investment of time and resources.